|
|
Before I write this course, I want to thank my sister. All of the tools are provided by her. She is my cross stitch teacher because she taught me everything on cross stitch once I know cross stitch.
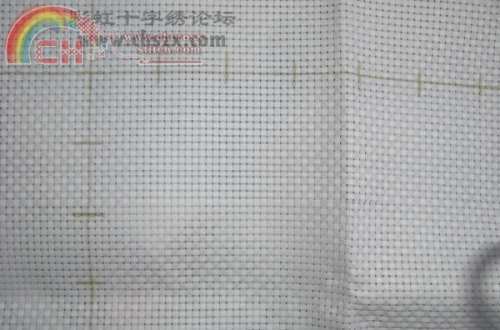
1st step is to prepare the tools. Put aida fabric on table, and prepare a pencil and ruler.
Tips: prepare a pencil instead of a water soluble pen which is hard to wash. I frequently use pencil, wax pencil and chalk.
There are two kinds of ruler, one is soft and the other is hard.

The second step, you should leave enough edge generally. In other words, leave 5CM for each edge.

You can see that 5 CM for each edge.This is very important,
The third step, choose one side to count the grids. 10 grids for each square and marked.

Another side is the same for 10 grids for each square.

The fourth step, to draw the straight line by vertical.

Finally, horizontal straight lines intersects to form a square.

More to say, if you draw for the big aida fabric, I suggest that you should draw parts first instead of drawing the whole.
Why? Theres two reasons, one is the aida fabric wont get dirty, and second is the handwriting will not shade away.
One more tips for count the grids.
First, we must remember that the cloth is intersected by lines, so that there are horizontal lines and vertical lines.
Second, count by even number. two to four. Six, eight, ten.
Third, The starting point in front of the grid is a vertical bar, then to ten, the end must be vertical.
Whereas,the starting point is in front of the line is a horizontal bar, then to ten, the end must be horizontal.
REPOST FOR YOUR REFERENCE!
|
|
When someone visits this page from a link you share, you will be rewarded
|